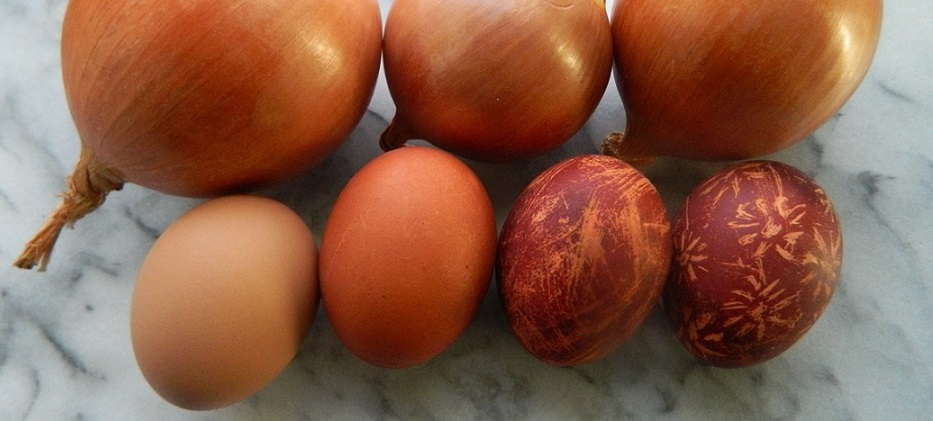
 From left, a brown egg, a white egg dyed 15 minutes in yellow-onion-skin dye, white eggs dyed overnight with scratched patterns made by a paper towel and, next, a knife,Dye Easter eggs red by boiling them with the skins of yellow onions.
Seeing this claim on several websites, I decided to try it. I collected the papery outer skins from yellow onions for a few weeks until there were enough to half fill a 10-quart stainless-steel stock pot. I'd estimate that the amount was from at least a dozen large onions.
I added six cups of water to the pot, brought it to a boil, pressed the skins down into the water, turned off the heat and let it sit overnight. The water looked nice and orange, just as one website said it would. Then I brought the water to boiling again and let is sit covered until it cooled down.
Next, I poured 4 cups of the onion water into a smaller pot, added 2 tablespoons of vinegar and four white eggs. I threw in as many of the onion skins as I could fit and brought the eggs to a boil. Then I turned off the heat and let them sit for 15 minutes. When I first put the eggs in, they immediately took on the nice orange color of the liquid. Since I was so excited about the possibility of the eggs turning red, I made the mistake of not leaving one out to see how the lighter dye would hold (More on that later.)
When I took the eggs out after 15 minutes, they were about the color of brown eggs. NOT very exciting. So I left out one of the eggs for comparison and put the pot with the other three in the refrigerator overnight. In the morning, those were a more pleasing terra cotta red, but the dye did not take evenly. Some areas had lines in places where the onion skins had touched them in the pot.
This made me wonder if perhaps the first woman to make "scratch eggs" was disappointed by an uneven Easter egg dye job and decided right then and there to use a sharp implement to save it by scratching away at the dye to make pretty patterns that would camouflage an unsatisfactory dye job.
Here's a video showing the "scratch" process. (Focus on the work and try to ignore the fly)
Click to read more ...

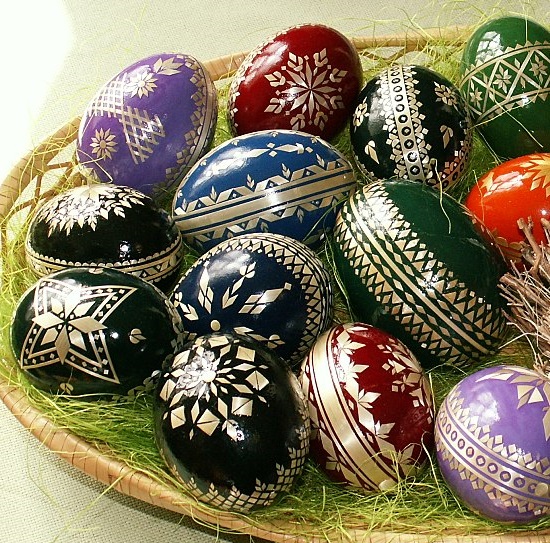 A collection of eggs decorated with straw. Photo by Jan KameníčekMarcela Hrabovská is an expert from the Czech Republic in traditional egg decorating with straw.
 Kimberly L. Jackson